SCREEN OVERVIEW
The Lead Generation Screen
What is the lead generation screen?
The purpose of this screen is to get leads and contacts that don’t know about you or your team to want to work with you, and to send you a deal for the first time.
How does the lead generation screen work?
Contacts are categorized using a temperature system, where they are nurtured through campaigns until they request an offer on one of their properties. The lead manager can manage thousands of potential leads, view a contact’s information, their properties, appointments, campaigns and notes, and have text conversations.
Layout
-
Temperature Panel
-
Contact Panel
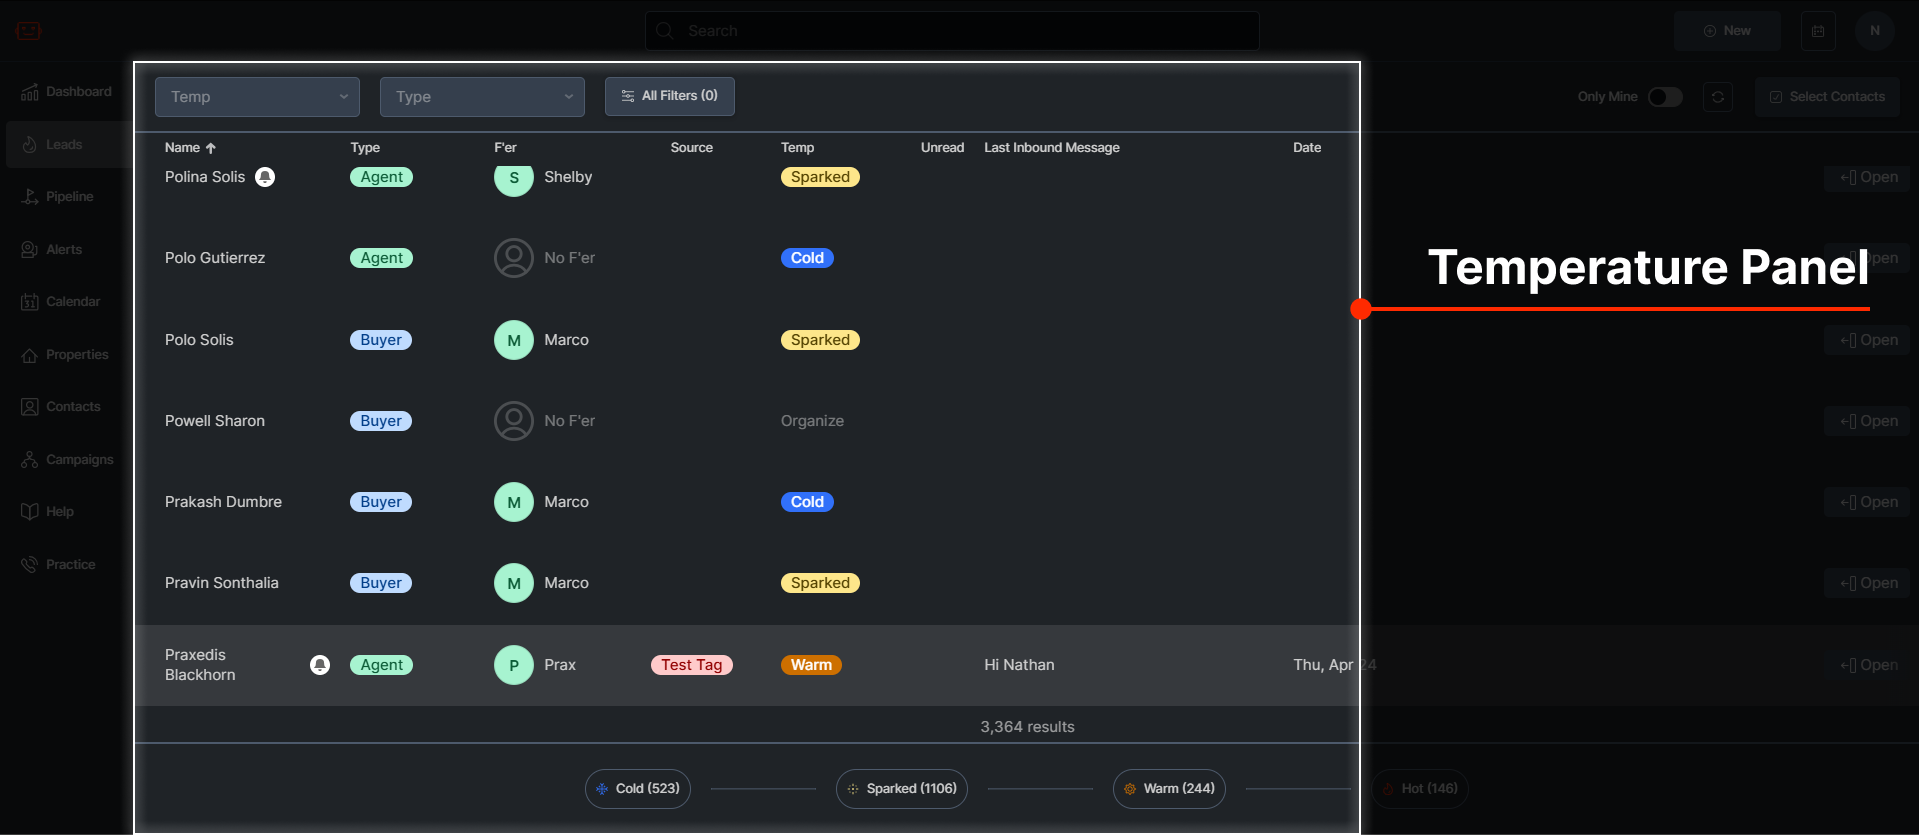
Temperature Panel
The lead manager moves contacts through the temperatures using automatic message campaigns, becoming warmer until they are ‘Hot’, where they provide us with an address.
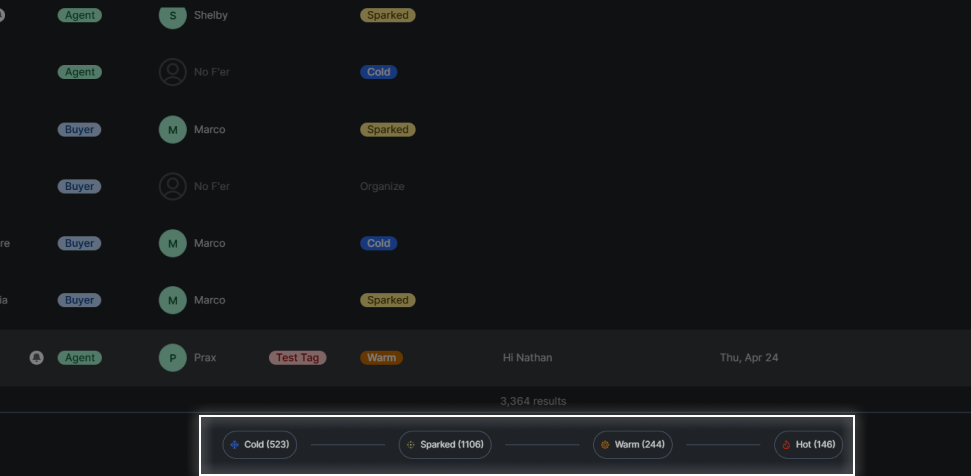
Temperatures
The temperatures can be viewed using the tabs at the top of the temperature panel.
Cold
You haven't made contact at all with this lead.
Sparked
You have sent the lead the first message or phone call, but they haven't replied.
Warm
The lead has replied and is willing to work or has shown some interest.
Hot
The lead is ready to discuss selling with your team.
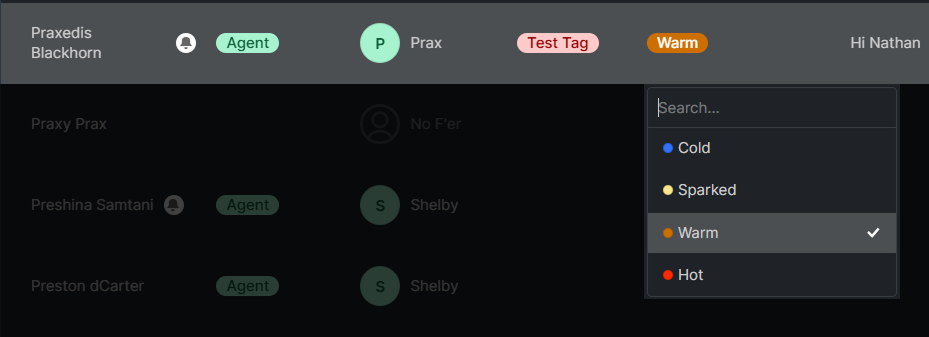
How to Change a Lead’s Temperature
To change the temperature of a lead, click on the temperature listed on the contact’s row. In the Cold tab, you can select multiple contacts using the checkboxes on the left side of the contact’s name. You can put all of your selected contacts into a campaign at once by clicking the ‘Campaign’ button at the bottom of the Cold tab.
Leads
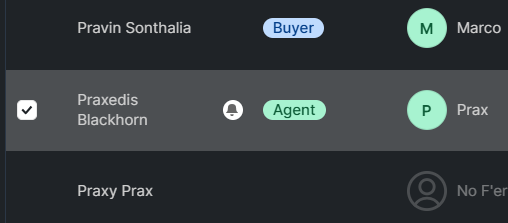
Each lead listed in the temperature panel has several fields you can view, including:
Name
The lead’s name.
Type
The lead type. For example, they may be an Agent or a Seller.
Team Member
The team member managing the lead and moving them through the temperatures. This name will change depending on your team.
Temperature
The current temperature of the lead. Click on this to change their temperature.
Filtering
In the lead screen, you can filter what leads appear, allowing you to access certain segments or narrow down your search. You can filter using several options.
Quick Filters
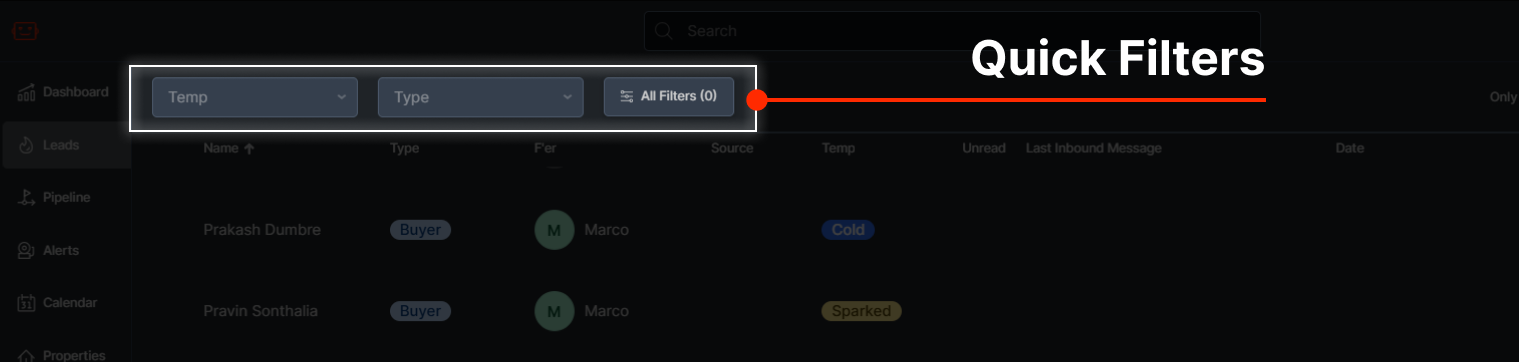 In the top bar of the lead screen, you can access quick filters which let you filter by:
- Temperature
- Contact Type
You can select multiple filters, so try combining them to help you narrow down what you want. Click the X icons in the filters to clear them.
Advanced Filters
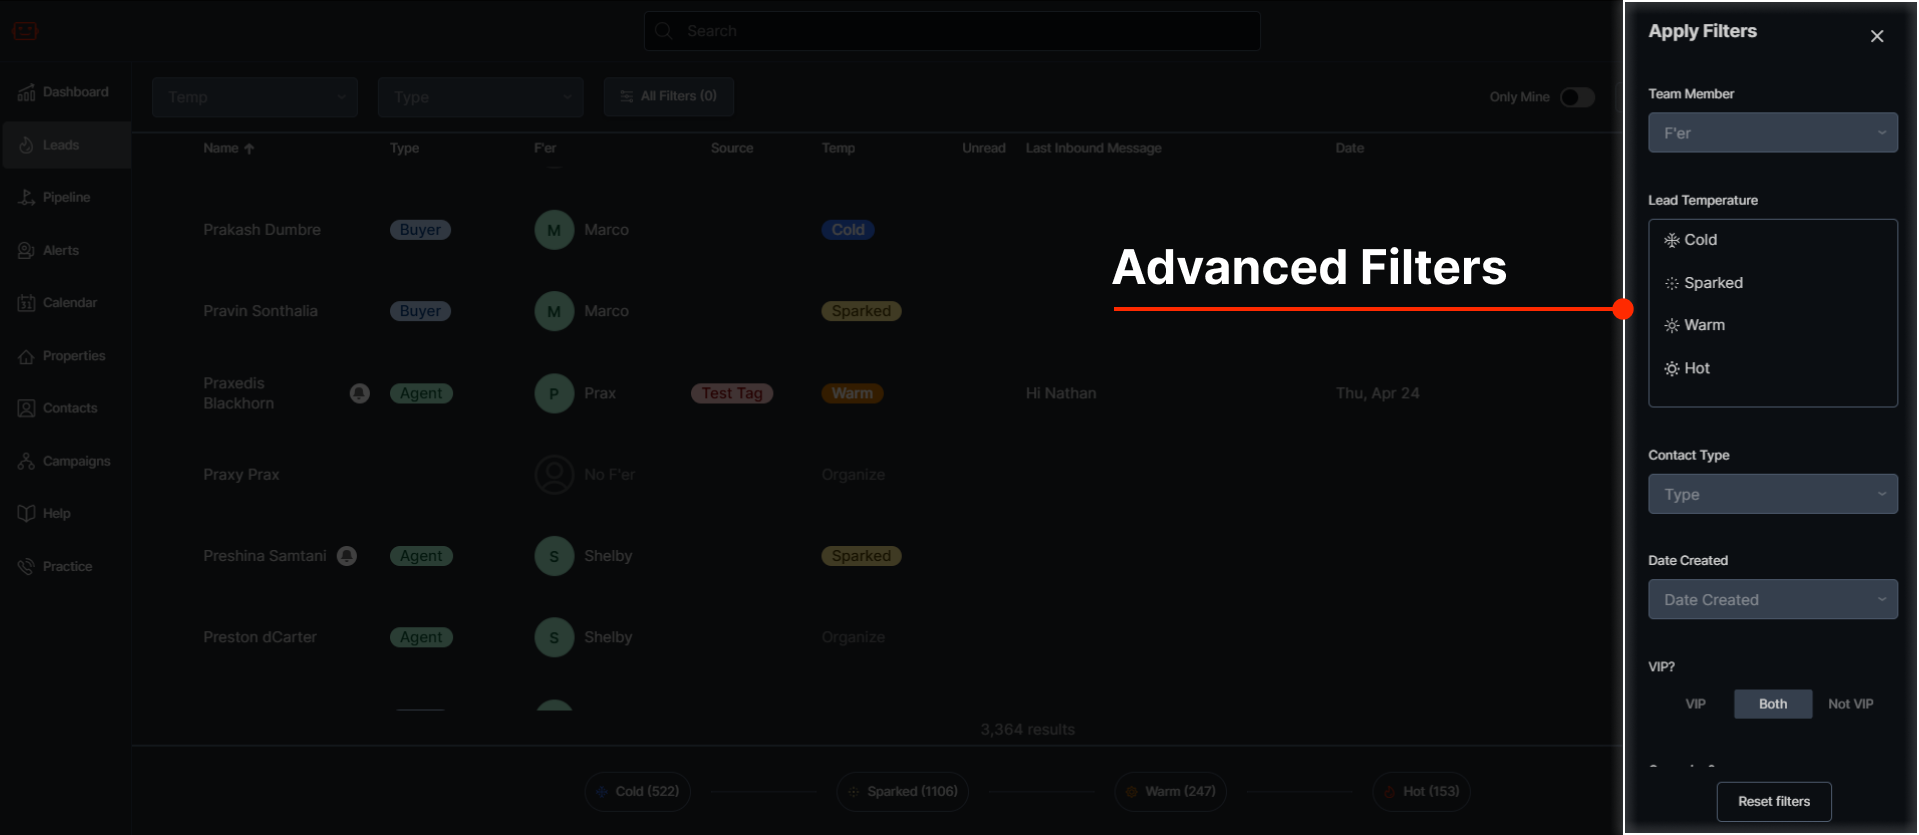
By clicking the All Filters button in the top bar, you can access the Advanced Filters window. These let you filter by:
- Team Member
- Temperature
- Contact Type
- Date Created
- VIP
- Campaign
You can select multiple filters to achieve specific results. For example, you could filter to Cold contacts who are Sellers which were created Less than 7 Days ago and are Not in a Campaign.
To Reset all filters, click the Reset filters button at the bottom of the Advanced Filters window.
Bulk Selecting and Editing
The lead screen allows you to make massive edits to thousands of contacts at one time by selecting the contacts you want and making changes.
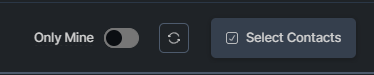
Selecting Contacts
To do this, first click on the Select Contacts button on the top right.
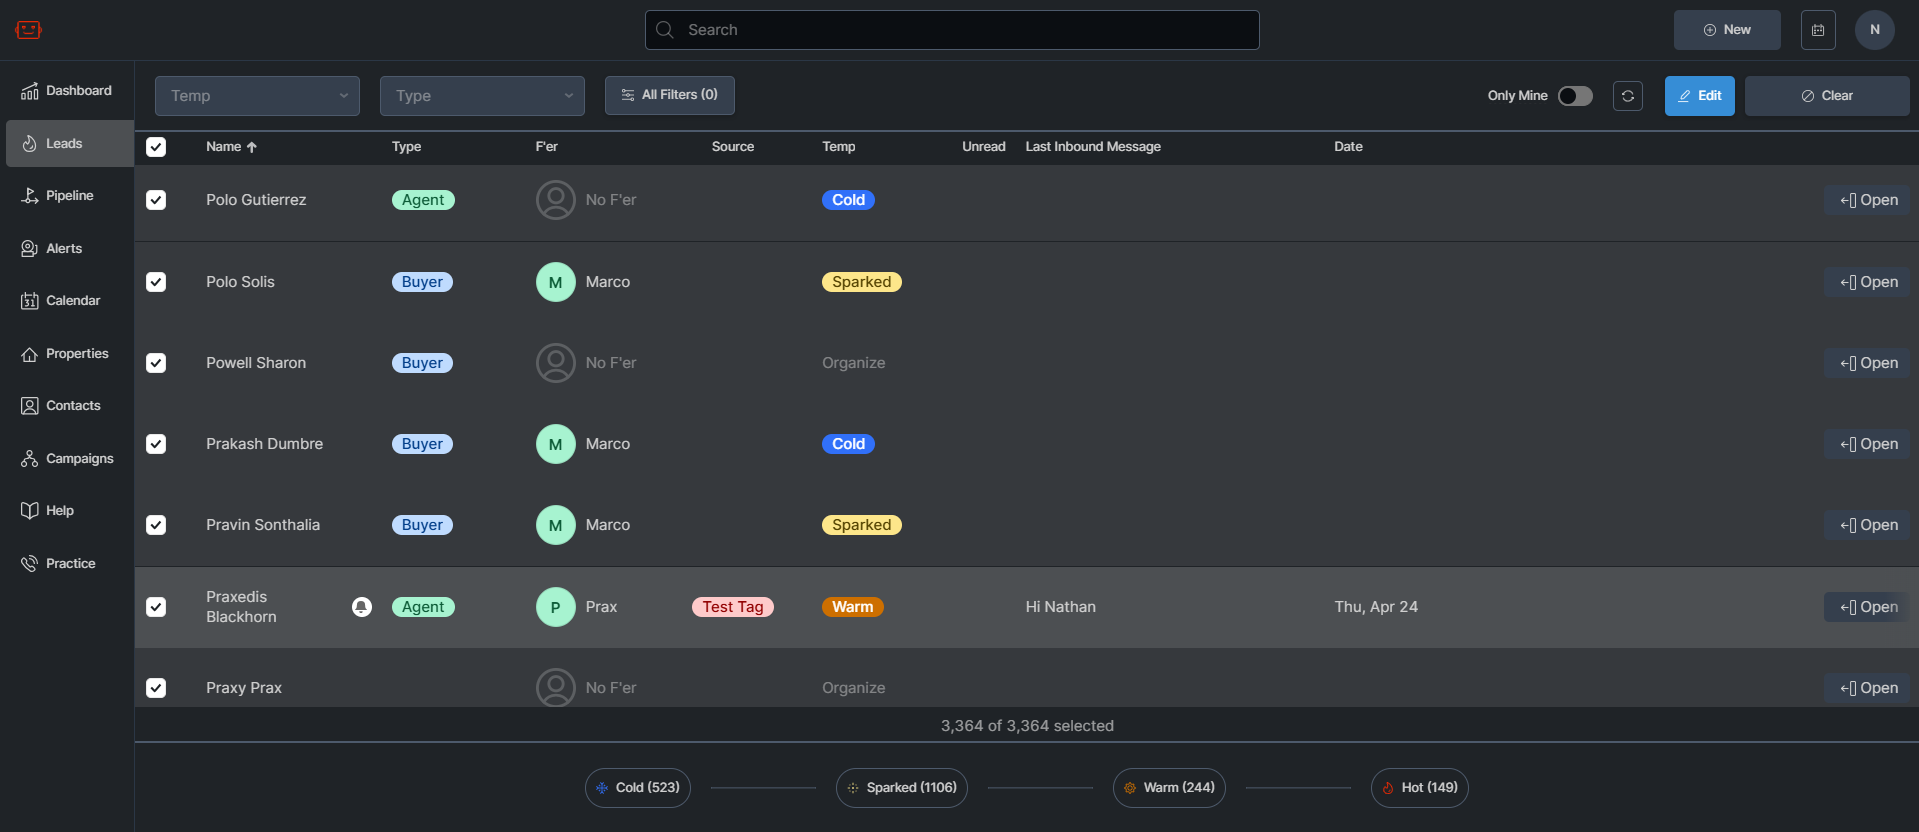
This will change the lead screen to a selection view, where you can select any contact by clicking the checkbox to the left of the name.
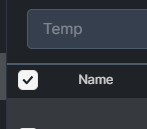
If you want to select all contacts, click the checkbox on the top left of the leads screen:
By combining filters and selections, you can first filter down your view and then select all contacts in the current view.
Bulk Editing
Once you have one or more contacts selected, you can perform several bulk editing actions. To start, click on the blue Edit button on the top right:

This will bring up the Bulk Editing window:
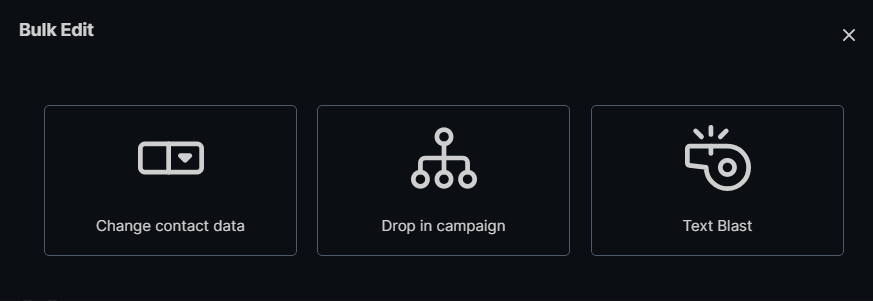
Click the tabs below to view the actions you can perform.
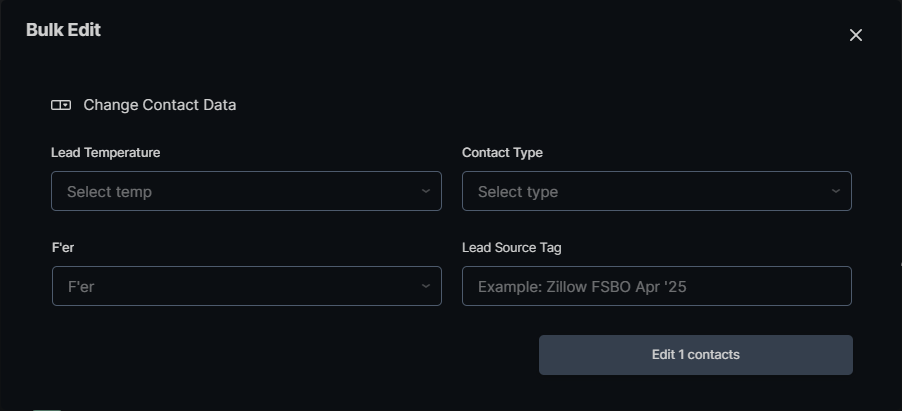
Here you can change the Lead Temperature, Team Member, Contact Type or Lead Source Tag of all selected contacts.
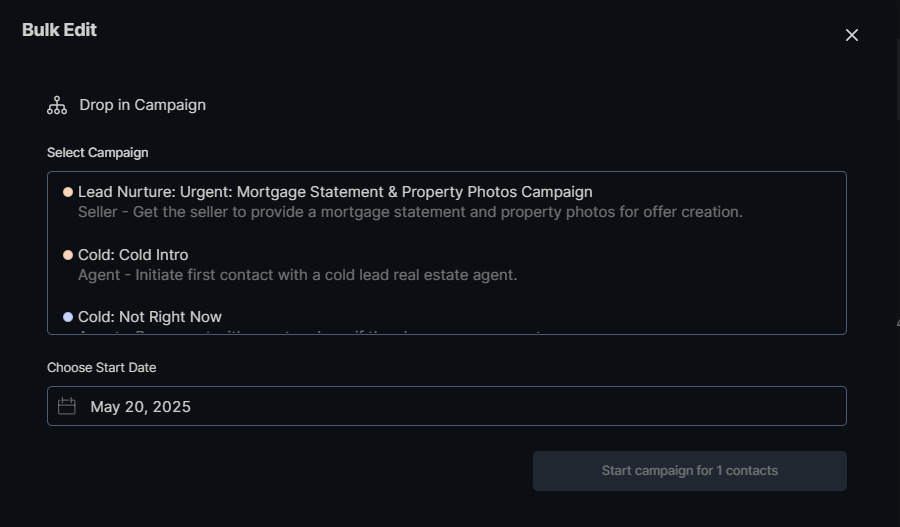
Put everyone in your selection into a campaign instantly. For any campaigns that use {address} the first property for the contact will be selected. Be careful about what contacts you put in what campaigns!
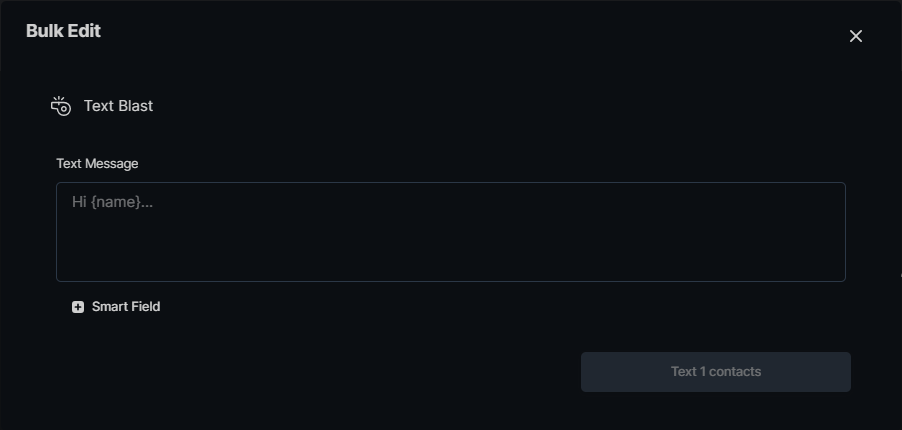
Instantly send out a single text message to all of your users. Supports smart fields like {address}, {user_name}, etc.
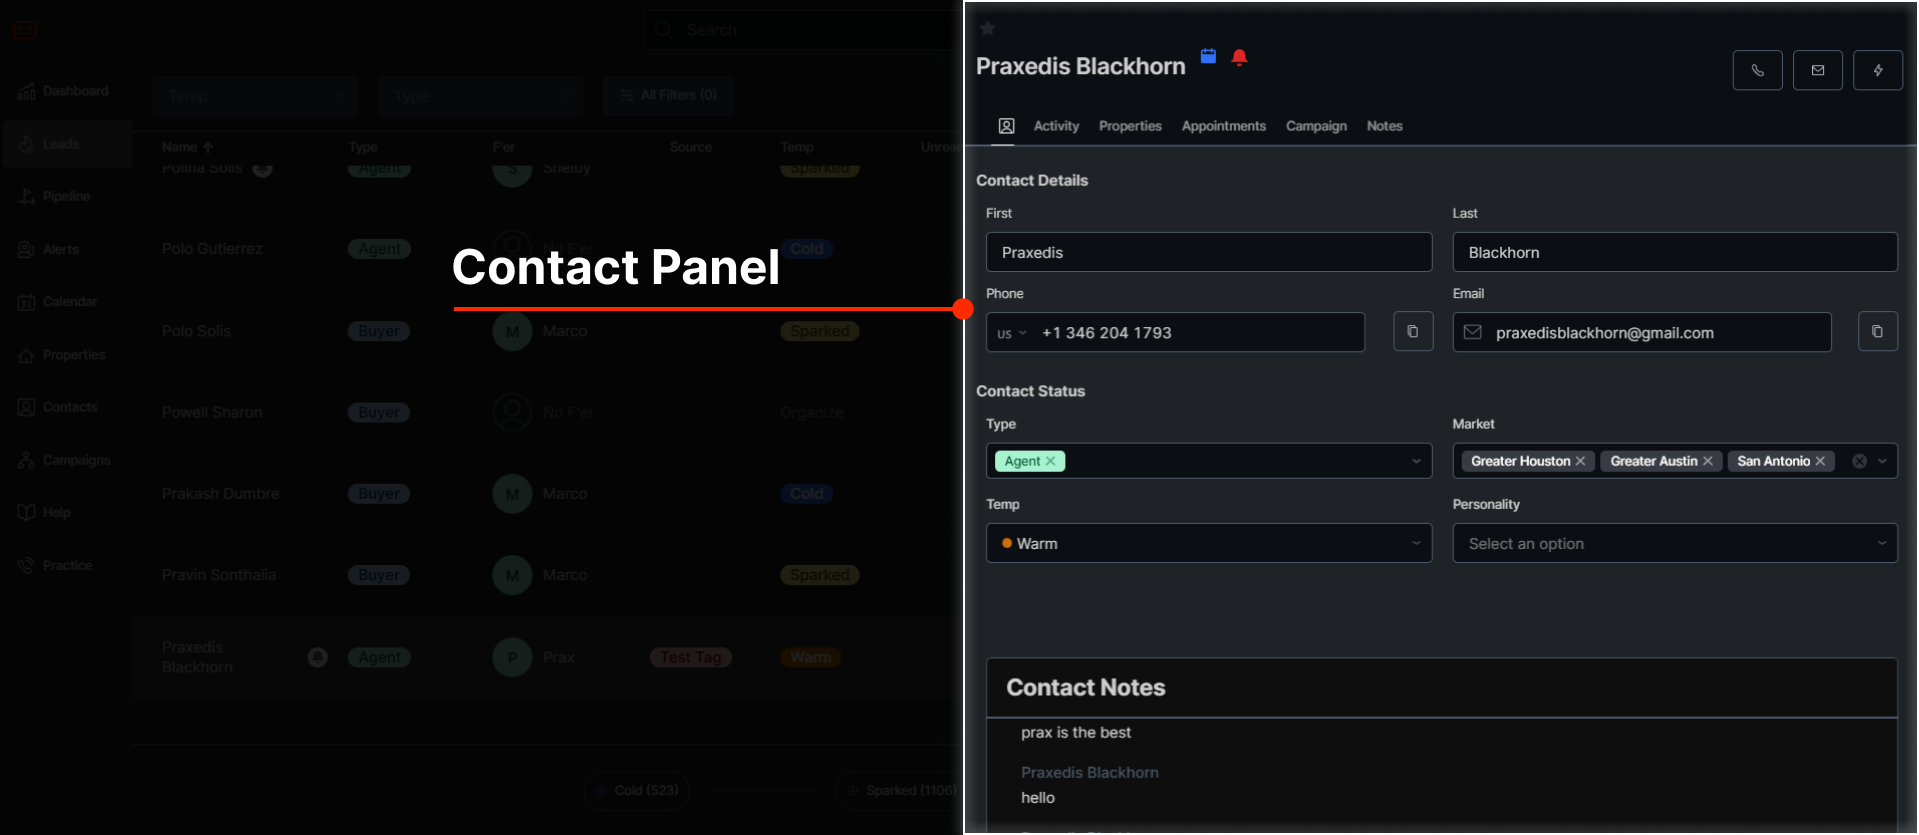
Contact Panel
The contact panel is where you can view all of a contact’s information and more. You can click on a contact to view their information in the Contact Panel.
Top Section
In the top section of the Contact Panel, you can view the contact’s name and their temperature.
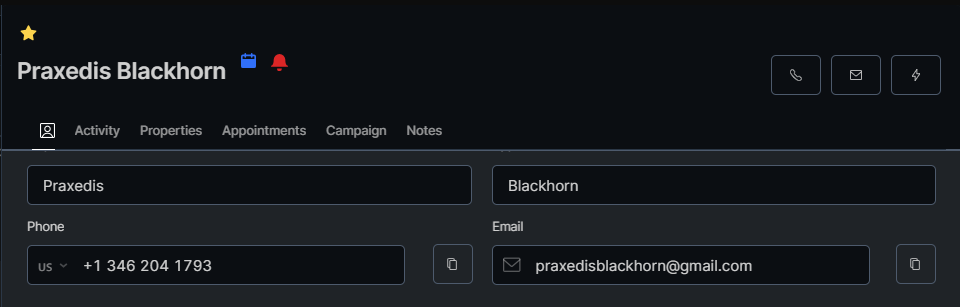
You can star a contact in the top left. A star means that they’re an important contact, or a VIP. The temperature is visible next to the contact’s name. A blue calendar icon means they have an appointment scheduled. A red bell icon next to the temperature means the contact is currently in an active campaign. If the contact has sent a message, Effie will ask you if they should still be in a campaign considering they have replied.
Action Buttons
There are a few buttons on the right side of the contact panel that achieve different functions.
 This button calls the contact.
 This button sends an email to the contact.
 This button allows you to perform several actions:
-
Google Name: Google the contact’s name
-
Buy Box: Send the contact a copy of your Buy Box email
-
Welcome Packet: Send the contact a copy of your Welcome Packet email
-
New Appointment: Create a new appointment with the contact
-
New Campaign: Start a new campaign
-
Stop: Block all messages from sending to the contact
Tabs
There are several tabs in the contact panel:
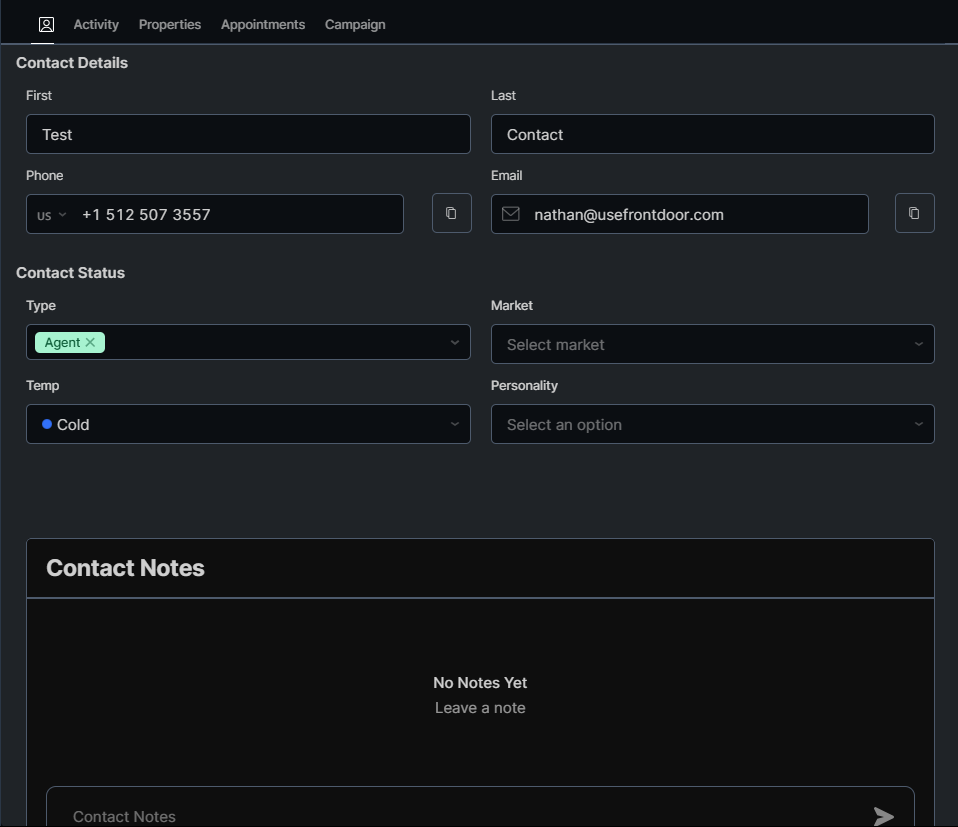
View contact information, change temperature, and leave contact notes
In the contact tab, you can view and change various contact information. Click any field you want to edit, or click the copy buttons next to the phone or email to copy them to your clipboard. You can also leave contact-specific notes that all team members can reference.
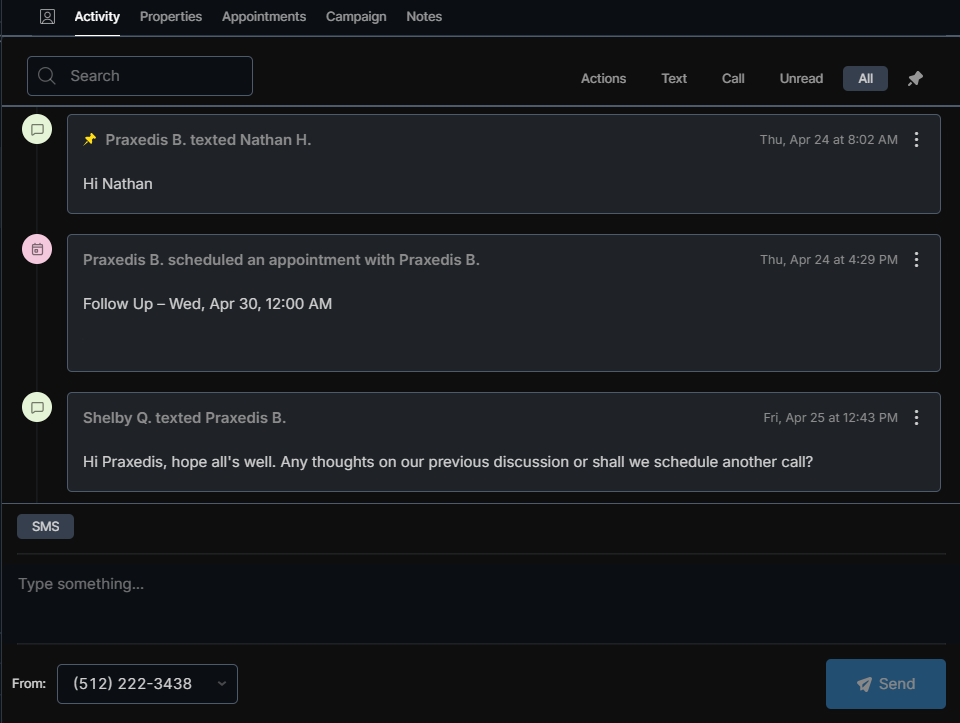
Read and send texts, view appointments, and view a log of contact activity
The activity tab allows you to see a record of every message sent from your team to the contact and from that contact to your team. You can also see appointments and other changes made to the record.
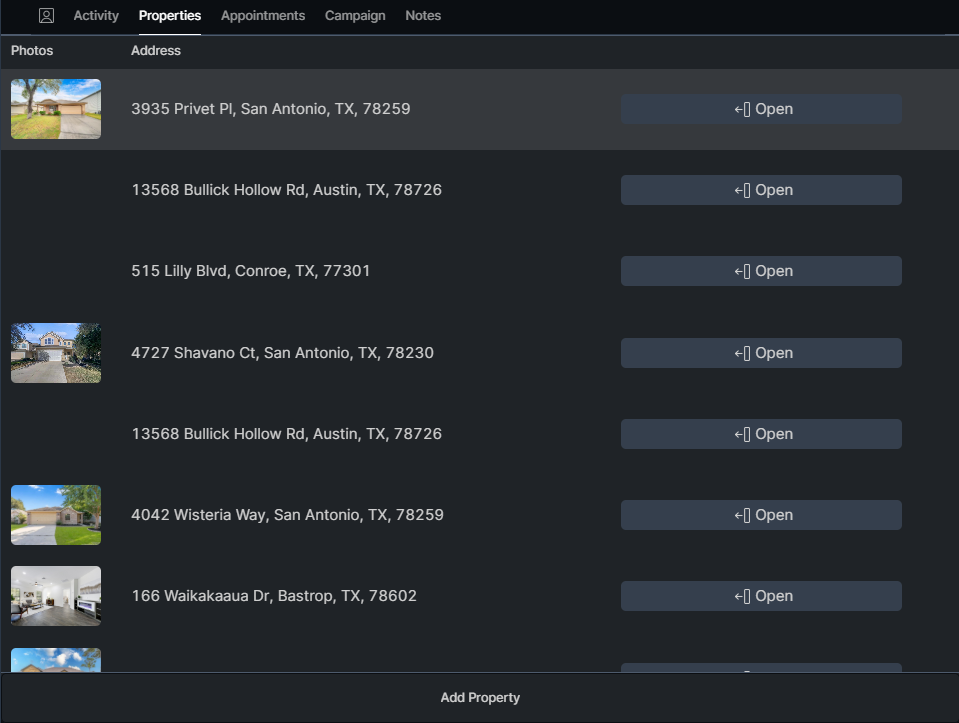
See all the properties connected to the contact
This tab shows all of the properties Effie has found to be connected to or listed by the contact. You can use this when speaking to an Agent to bring up other properties they might be willing to send you.
By clicking the three dots on the right side of a property, you can turn the property into a deal, which moves it to the Deal Pipeline Screen.
You can also add a property by clicking on the Add Property button at the bottom of the tab.
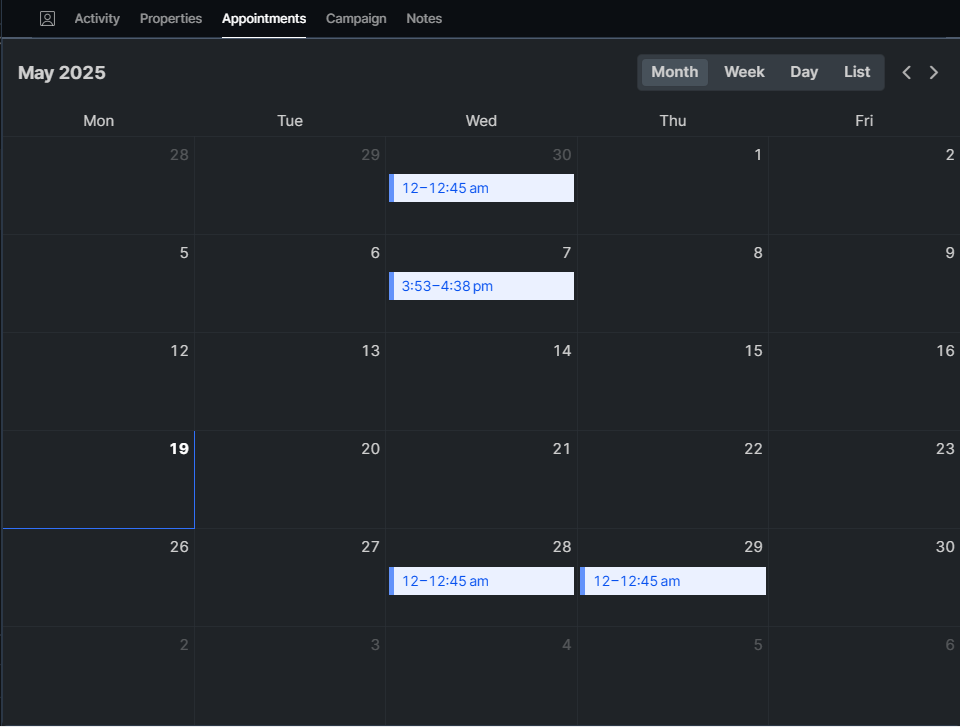
Add and view appointments
This tab is a calendar view that allows you to view, edit, and create appointments for that specific contact. On the top right you can change the view type. Simply click inside of the calendar on a time or day to create an appointment.
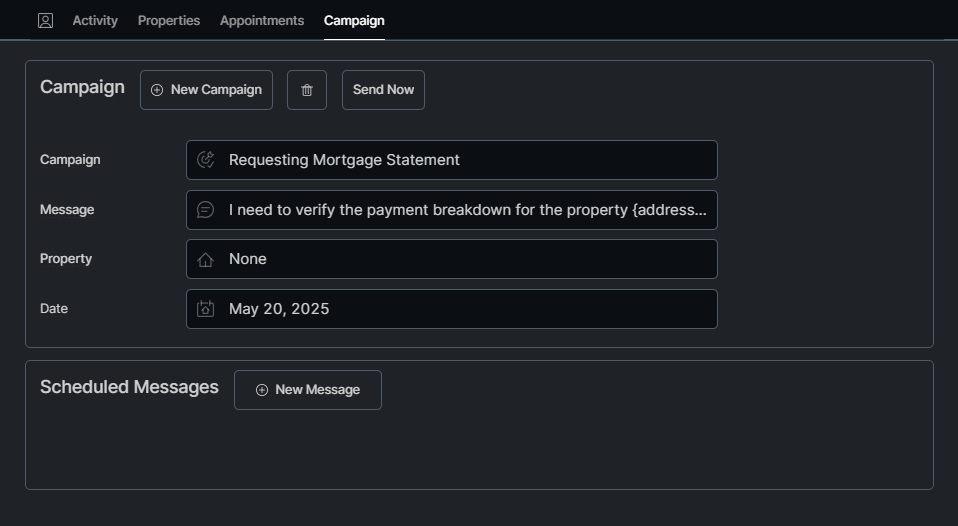
Add and view campaigns
In this view you can see what campaign the contact is currently in, if any, delete the campaign, or create a new campaign.